
Slash And Spread Explained: A Beginner’s Guide To Using The Method
May 30, 2025I was intrigued when I first heard about the slash and spread technique in pattern cutting, —it sounded like a secret weapon for transforming basic patterns into something truly unique. As someone who loves the creative side of sewing, I couldn’t wait to try it.
The slash and spread method is a simple yet powerful way to manipulate patterns, allowing you to add volume, create flares, or adjust shapes to match your design vision.
In this guide, I’ll break down the technique in a way that’s easy to follow, share how I’ve used it in my projects, and show you where this technique can shine.
This is slash and spread explained!
What Is the Slash and Spread Technique?
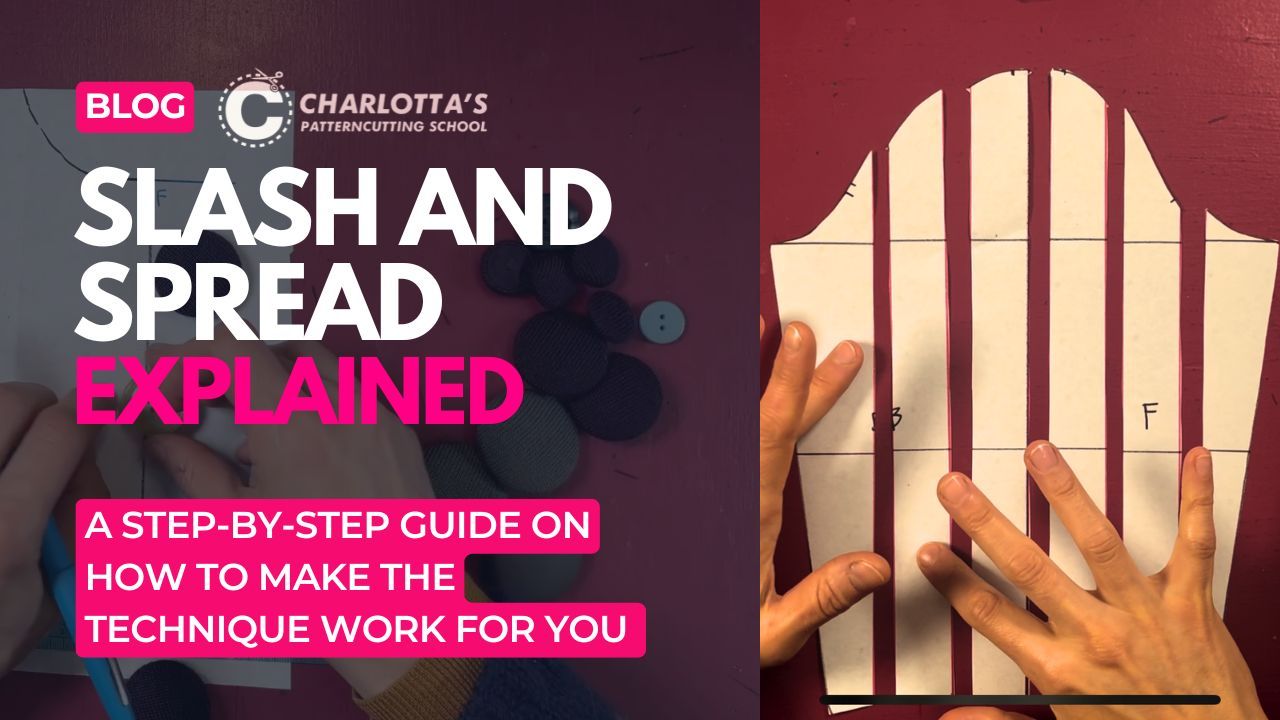
At its core, the slash and spread technique involves cutting (slashing) a pattern piece along specific lines and then opening (spreading) those cuts to add space and alter the shape. It’s a method used in flat pattern cutting to modify a basic block or sloper—a template that fits your body measurements, into a new design.
I love how intuitive it feels once you get the hang of it. By spreading the slashed sections, you can add fullness, create curves, or even adjust the fit. And the best part? You don’t need fancy tools—just some paper, scissors, and a bit of creativity.
Tools You’ll Need for Slash and Spread
Before diving in, lets gather a few basics. These are the tools I always have on hand when I’m working with this technique:
- Pattern Paper: I use lightweight tracing paper, but brown kraft paper works too.
- Basic Block/Sloper: This is your starting pattern—think a bodice, skirt, or sleeve block.
- Scissors: For clean, precise cuts through the paper.
- Tape: To secure the spread sections in place after adjusting.
- Ruler and Pencil: For marking slash lines and measuring how much to spread.
- Extra Paper: You’ll need this to fill in the gaps created by spreading.
With these, you’re ready to start experimenting.
How to Use the Slash and Spread Technique: Step-by-Step
Here’s the process I follow when I use slash and spread. I’ll walk you through each step so you can try it yourself.
Step 1: Start with Your Basic Block
Begin with a basic block that fits your measurements—like a bodice or skirt sloper. I usually trace my block onto fresh paper so I don’t ruin the original. Make sure to mark key points like the grainline, darts, and notches so you don’t lose track of them.
Step 2: Plan Your Slash Lines
Decide where you want to add fullness or change the shape. This is where your design vision comes in. For example, if I’m adding flare to a skirt, I might draw vertical lines from the hem to the waist, evenly spaced.
If I’m working on a sleeve, I might slash from the cuff to the shoulder to create a bell shape. Use a ruler and pencil to draw these lines straight and precise.
Step 3: Slash the Pattern
Carefully cut along the lines you drew, stopping just short of the edge so the pattern stays connected. For a skirt flare, I cut from the hem up toward the waist but stop about 1/8 inch from the waistline—this keeps the waist measurement intact while allowing the hem to spread.
Step 4: Spread the Sections
Now, open up the slashed sections to add space. The more you spread, the more fullness you’ll create. For a subtle A-line skirt, I might spread each section by 1 inch; for a dramatic flare, I’d go for 3-4 inches.
Slide a piece of extra paper underneath and tape the sections in place. Make sure the grainline stays straight as you spread.
Step 5: Redraw and Smooth the Edges
Once the sections are taped, you’ll notice gaps where you spread the pattern. Fill these in with the extra paper, and use a ruler or French curve to redraw the edges smoothly. For example, after spreading a skirt hem, I redraw the hemline in a gentle curve to connect the spread sections. Add seam allowances if needed, and label your new pattern piece.
Examples of Where to Use Slash and Spread
The beauty of this technique is how versatile it is. Here are a few ways I’ve used slash and spread in my projects, which might inspire your own designs.
Adding Flare to a Skirt
One of my favourite uses is turning a straight skirt block into an A-line or flared skirt. By slashing vertical lines from the hem to the waist and spreading them evenly, I can control how much flare I want.
I did this for a summer skirt project, spreading each section by 2 inches, and the result was a flowy, flattering shape that looked great with a fitted top.
Creating a Bell Sleeve
For a blouse I made last year, I wanted dramatic bell sleeves. I took my basic sleeve block, slashed it vertically from the cuff to the shoulder, and spread the sections to add width at the cuff. The sleeve went from straight to beautifully flared, giving the blouse a romantic, vintage vibe.
Adjusting a Bodice for a Peplum
Another project I loved was adding a peplum to a fitted bodice. I slashed the lower part of the bodice block horizontally, just above the waist, and spread the sections to create a flared peplum effect. It added such a fun, feminine touch to a simple top, and it was easier than I expected.
Widening Trousers for a Flared Leg
I’ve also used slash and spread to turn straight-leg trousers into flared trouser. By slashing from the hem to the knee and spreading the sections, I created a subtle flare that gave the pants a retro flair. It’s a great way to modernise a basic trouser block.
Tips for Success with Slash and Spread
Here are a few things I’ve learned to make the process smoother:
- Start Small: If you’re new, try a small spread (like 1 inch) to get a feel for how it changes the shape.
- Keep the Grainline in Mind: Always check that your grainline stays straight, or your fabric might hang oddly.
- Test with a Muslin: Before cutting your final fabric, sew a quick muslin to see how the new shape fits.
- Use Tape Liberally: Don’t skimp on tape—it keeps your pattern stable as you work.
- Label Your Pieces: I always write “new flared skirt front” or “bell sleeve” on my patterns to avoid confusion later.
These habits have helped me get the most out of this technique without any major hiccups.
FAQ: Slash And Spread Explained
What’s the easiest project to try slash and spread with?
A flared skirt is a great starting point. It’s simple, and you can see the effect of the technique right away.
Can I use slash and spread to make a pattern smaller?
Not really—this technique is for adding fullness. To make a pattern smaller, you’d use a slash and overlap method instead.
Do I need to adjust darts after spreading?
Sometimes. If you spread a lot at the hem, you might need to adjust or add darts at the waist to maintain the fit.
Is slash and spread only for adding flare?
No, it’s versatile! You can use it to add volume, create gathers, or even adjust the shape of collars and cuffs.
Transform Your Patterns with Slash and Spread
The slash and spread technique is a fantastic way to take your pattern cutting to the next level. It’s opened up so many design possibilities for me, from flared skirts to bell sleeves, and I love how it lets me customise patterns to match my style.
With a little practice, you’ll be slashing and spreading like a pro, creating garments that are uniquely yours. Grab a basic block, try this method on a simple project, and see where your creativity takes you.
Happy cutting!
