
Flat Pattern Cutting For Beginners: Your Step-By-Step Guide
May 20, 2025I remember the first time I tried flat pattern cutting— I was equal parts excited and intimidated. The idea of turning a flat piece of paper into a wearable garment felt like magic, but I wasn’t sure where to start.
If you’re feeling the same way, don’t worry. Flat pattern cutting is a foundational skill for anyone interested in sewing or fashion design, and it’s more approachable than you might think. In this guide, I’ll walk you through the basics of flat pattern cutting, share the tools and techniques that helped me get started, and offer tips to make your first project a success.
Let’s dive in and create something amazing together.
What Is Flat Pattern Cutting?
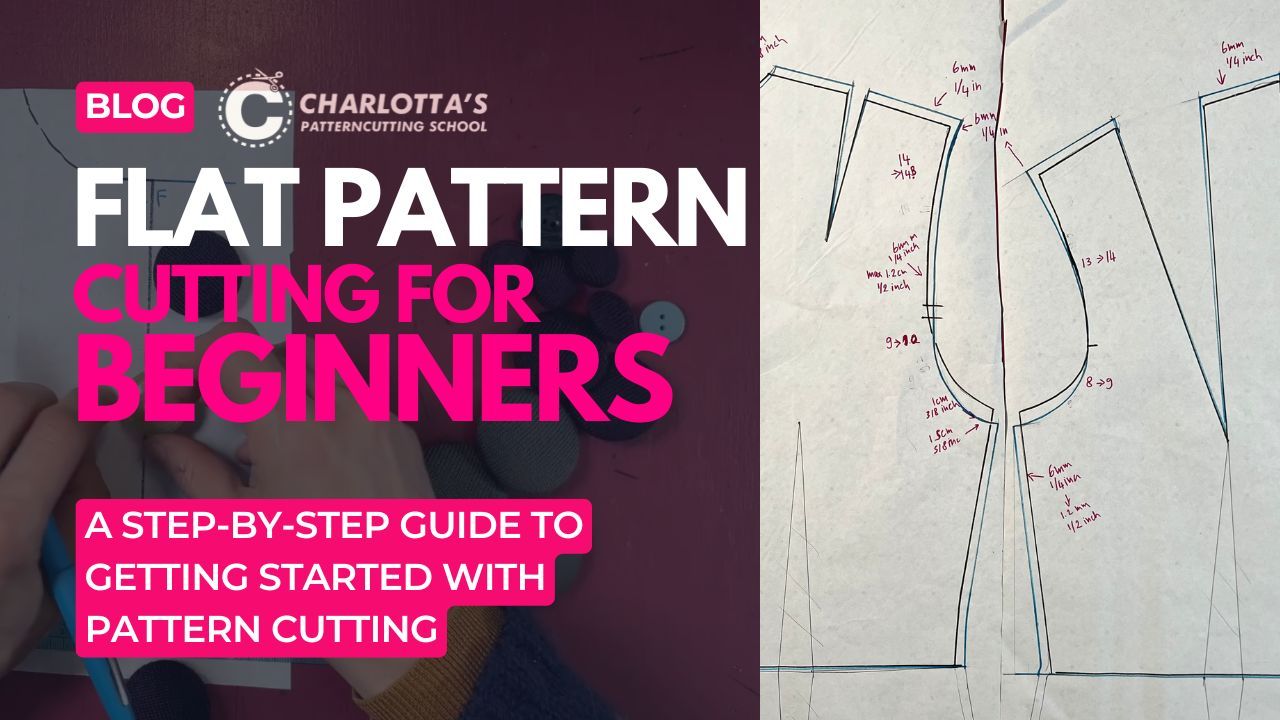
Flat pattern cutting is the process of creating a two-dimensional template (or pattern) that, when cut out and sewn together, forms a three-dimensional garment. It’s like a blueprint for your clothing project.
As a beginner, I found this method so useful as it helped me to achieve the most important thing:
It gave me control over the fit and style of my creations. You start with basic shapes, called blocks or slopers, and modify them to match your design vision.
It’s a skill that grows with practice, and the best part? You don’t need fancy equipment to get started—just some simple tools and a bit of patience.
Tools You’ll Need for Flat Pattern Cutting
When I began, I didn't have a lot of supplies. And the truth is, you can start with just a few essentials. Here’s what I recommend for flat pattern cutting for beginners:
- Pattern Paper: I use lightweight tracing paper or brown kraft paper—it’s affordable and easy to work with. You can work your way up to pattern cutting paper afterwards.
- Pencils and Erasers: Soft pencils (like 2B) are great for marking, and you’ll need an eraser for inevitable adjustments.
- Ruler and French Curve: A clear ruler helps with straight lines, while a French curve is perfect for shaping necklines and armholes.
- Tape Measure: Essential for taking accurate body measurements.
- Scissors: One pair for paper, another for fabric—keeping them separate keeps the blades sharp.
- Pattern Weights: These hold your paper in place without pins, which I found easier as a beginner.
These tools are budget-friendly and widely available, making them perfect for anyone just starting out.
Step-by-Step Guide to Flat Pattern Cutting for Beginners
Let’s break down the process into manageable steps. This is the approach I used when I made my first skirt pattern, and it’s a great way to build your confidence as a designer and maker.
Step 1: Take Accurate Measurements
Before you start drafting, you need your body measurements. Measure your bust, waist, hips, and any other areas relevant to your project. I always double-check my numbers because even a small error can throw off the fit. Write them down and keep them handy.
Step 2: Create or Use a Basic Block
A basic block is a simple pattern template based on your measurements. As a beginner, I found it easier to start with a pre-made block (you can find free ones online for things like bodices or skirts). If you’re feeling ambitious, you can draft your own using your measurements, a ruler, and a French curve. For example, a basic skirt block starts with a rectangle based on your waist and hip measurements, then you add darts to shape it.
Step 3: Modify the Block for Your Design
This is where the creativity comes in! Want a flared skirt instead of a straight one? Add width to the hemline. I started with small changes, like adjusting the length or adding a slight A-line shape. Use your French curve to smooth out any new lines, and always label your pattern pieces (e.g., “front skirt” or “back bodice”).
Step 4: Add Seam Allowances
Seam allowances are the extra space around your pattern for sewing the pieces together. I use 1/2 inch (1.27 cm) for most projects—it’s a safe standard. Use your ruler to draw this allowance around each piece. Don’t forget to mark notches (small snips) to help align pieces when you sew.
Step 5: Cut and Test with a Muslin
Once your pattern is ready, cut it out and trace it onto fabric—I recommend using cheap muslin fabric for your first try. Sew a quick test version to check the fit. My first muslin was a bit wonky, but it taught me so much about adjusting darts and seams. Make notes on what to tweak, then update your pattern.
Tips for Success in Flat Pattern Cutting
Here are a few lessons I learned the hard way, so you don’t have to:
- Work Slowly: Rushing leads to mistakes. Take your time when measuring and cutting.
- Label Everything: I once mixed up my front and back pieces—labeling avoids that headache.
- Practice with Simple Projects: Start with a basic skirt or top before tackling a fitted dress.
- Keep Your Tools Sharp: Dull scissors or pencils make the process harder than it needs to be.
- Stay Organized: Use a folder or binder to store your patterns so you can reuse them.
These habits helped me build confidence and avoid frustration as a beginner.
Common Challenges and How to Overcome Them
Flat pattern cutting can feel tricky at first, but most challenges have simple fixes. When I started, I struggled with getting the fit right—my first skirt was too tight around the hips. The solution? I adjusted my block by adding a bit more ease (extra room) to the hips and waist.
If your darts look puckered, they might be too long—shorten them slightly and test again. And if you’re unsure about a measurement, always err on the side of making the pattern a bit larger; it’s easier to take in than to let out.
FAQ: Flat Pattern Cutting For Beginners
What’s the easiest project for flat pattern cutting beginners?
A straight skirt or a simple tote bag is a great starting point. They require minimal shaping and are forgiving for first-timers.
Do I need to buy expensive tools for pattern cutting?
Not at all! Basic tools like paper, a ruler, and scissors are enough to get started. You can upgrade as you gain confidence.
How do I know if my pattern will fit?
Make a muslin test version first. It’s a low-stakes way to check the fit and make adjustments before cutting into your final fabric.
Can I reuse my patterns for future projects?
Yes! Store them in a folder or envelope, and you can tweak them for new designs or sizes later.
Start Your Flat Pattern Cutting Journey Today
Flat pattern cutting as a beginner might seem daunting, but with the right tools and a step-by-step approach, it’s a skill anyone can learn. I still remember the pride I felt when I wore my first self-drafted skirt—it wasn’t perfect, but it was mine.
Start small, be patient with yourself, and enjoy the process of bringing your ideas to life. Whether you’re dreaming of custom clothes or just want to dip your toes into sewing, flat pattern cutting is a rewarding place to begin. Grab your tools and let’s get cutting!
